Credentials and WSM Configuration (API + List Name)
If you want to use and enable MailChimp integration on your webstore, setting up your MailChimp Account is the first step.
Creating MailChimp Account
1. Browse to MailChimp.
2. Press the sign up button, give MailChimp your email, a username and a password.
3. MailChimp emails you a confirmation that you use to activate your account.
4. MailChimp asks you for further details.
Creating API Key
Once your account has been created you need generate an API key to enable communication with MailChimp.
1. At the top of the Dashboard is menu with Account in it.
2. Mousing over account will open a menu with Profile on it.
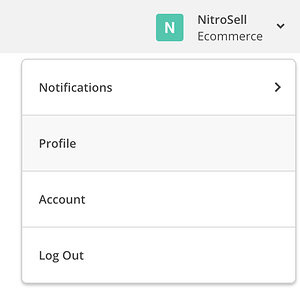
3. From your profile go to Extras → API keys:
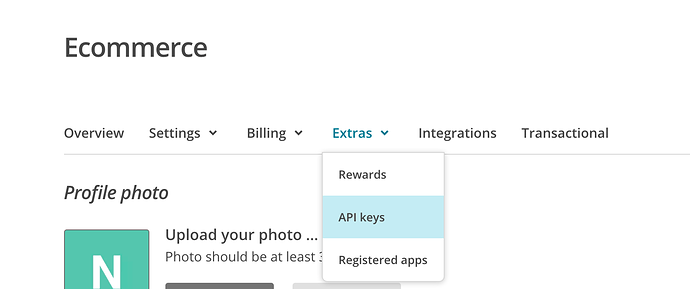
4. To generate your API key click the button Create A Key.
Create List on MailChimp
1. Browse to MailChimp and from the Dashboard go to Lists.
2. Press the create list button, you need to give the list a name - this is the name that your customers will see when they sign up.
3. You need to select an email that the customers will see the email coming from, perhaps something such as newsletter@yourcompanyname.com and another email that will get the responses they send.
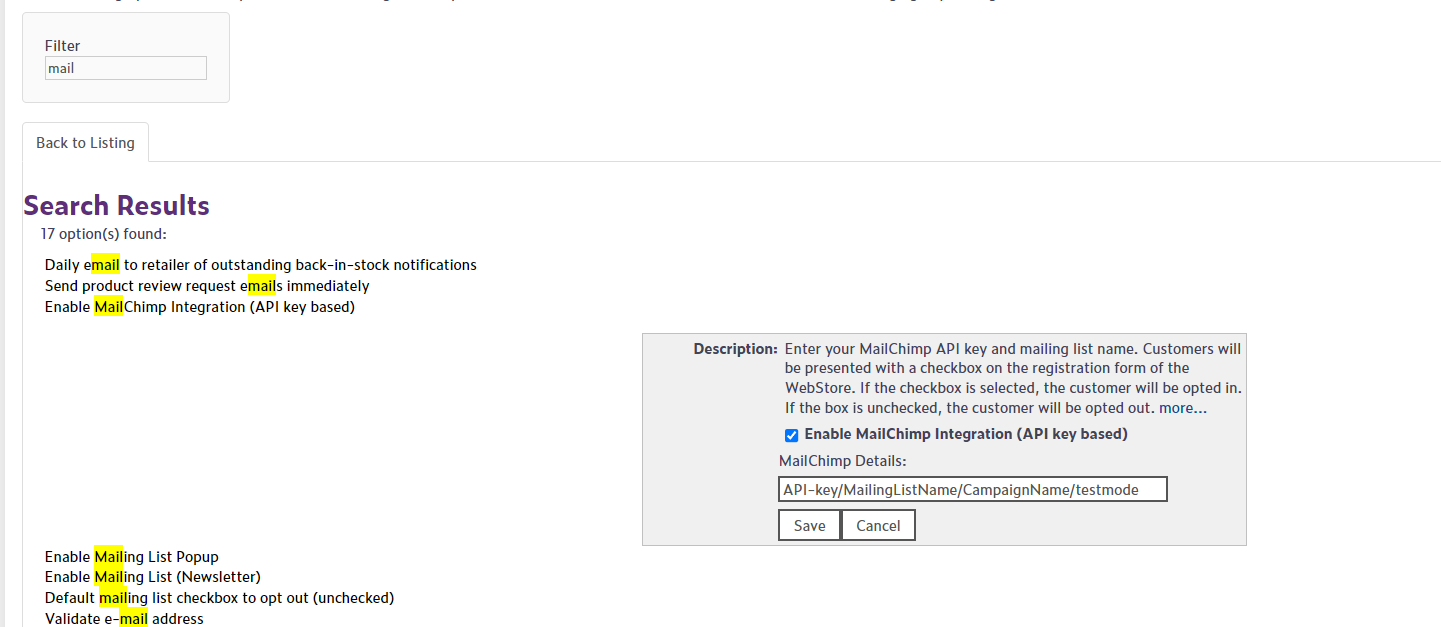
Use created API Key and List Name with WSM
Copy your API key and List Name from MailChimp to WSM (provide your credentials in the right order (separated by “/”):
1. API key.
2. Mailing List Name.
3. Campaign Name.
**Adding a Campaign Name is Optional
Creating MailChimp Campaign
1. Browse to MailChimp and create a campaign

Press the create campaign button, you need to give the campaign a name, this is the name that you will be using for collecting data from your customers orders.
Enable WSM option to support MailChimp Campaigns
Provide your Campaign name from MailChimp after “/”