The majority of Payment Gateways available via the Webstore Manager offer two notable features: Delayed Capture and Refunds through GWO.
Delayed Capture pre-authorizes the charge to a credit card, but requires a post authorization to capture the funds. Post Authorization is accomplished as follows.
- RMS & RMH POS users automatically post-auth (capture funds) when they tender transaction.
- All Other POS users must post-auth on the Payment Processors Online Terminal. However not all payment processors have online terminals so you should confirm you have this ability before enabling this feature. Failure to post-auth will result in funds never being taken or transferred to your account. You’d essentially be giving away products.
Returns through Get Web Orders allows you to return and refund through the POS but can only be used if Delayed Capture is enabled.
Nevertheless, using these features without proper support on your POS system may lead to potential loss of payments due to unintentional activation.
Enabling refunds through GWO
This feature only applies to RMS and RMH POS users.
The refund process through GWO is achieved by following steps:
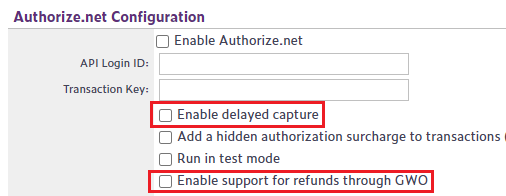
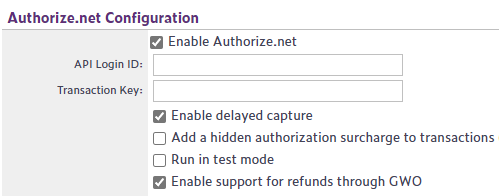
a) Enabling delayed capture and support for refunds in your WebStore Manager.
b) Initiating the actual refund transaction through GWO.
The first step consists of setting the correct options in your WebStore Manager. Two options are needed: delayed capture and support for refunds - this is illustrated below. Although this example uses Authorize.net as the payment gateway, the process is the same for other processors.
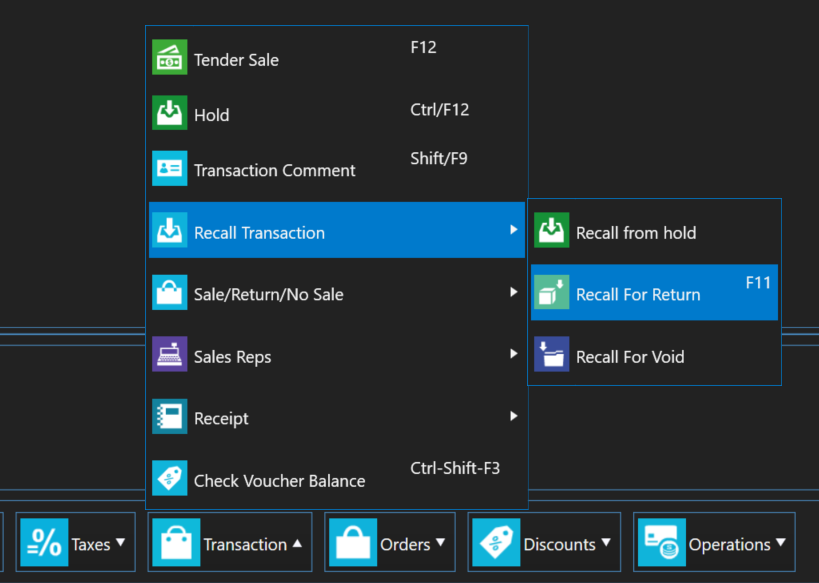
Having set the appropriate options, you can now initiate the actual refunds from GWO. The first thing to do is to click on Transaction button in the POS, then navigate to Recall Transaction -> Recall for Return, or simply press F11.
Now select the transaction you want to return, which would be one of the recently settled transactions in the web store. You will then be asked to give a reason for refunding this transaction.
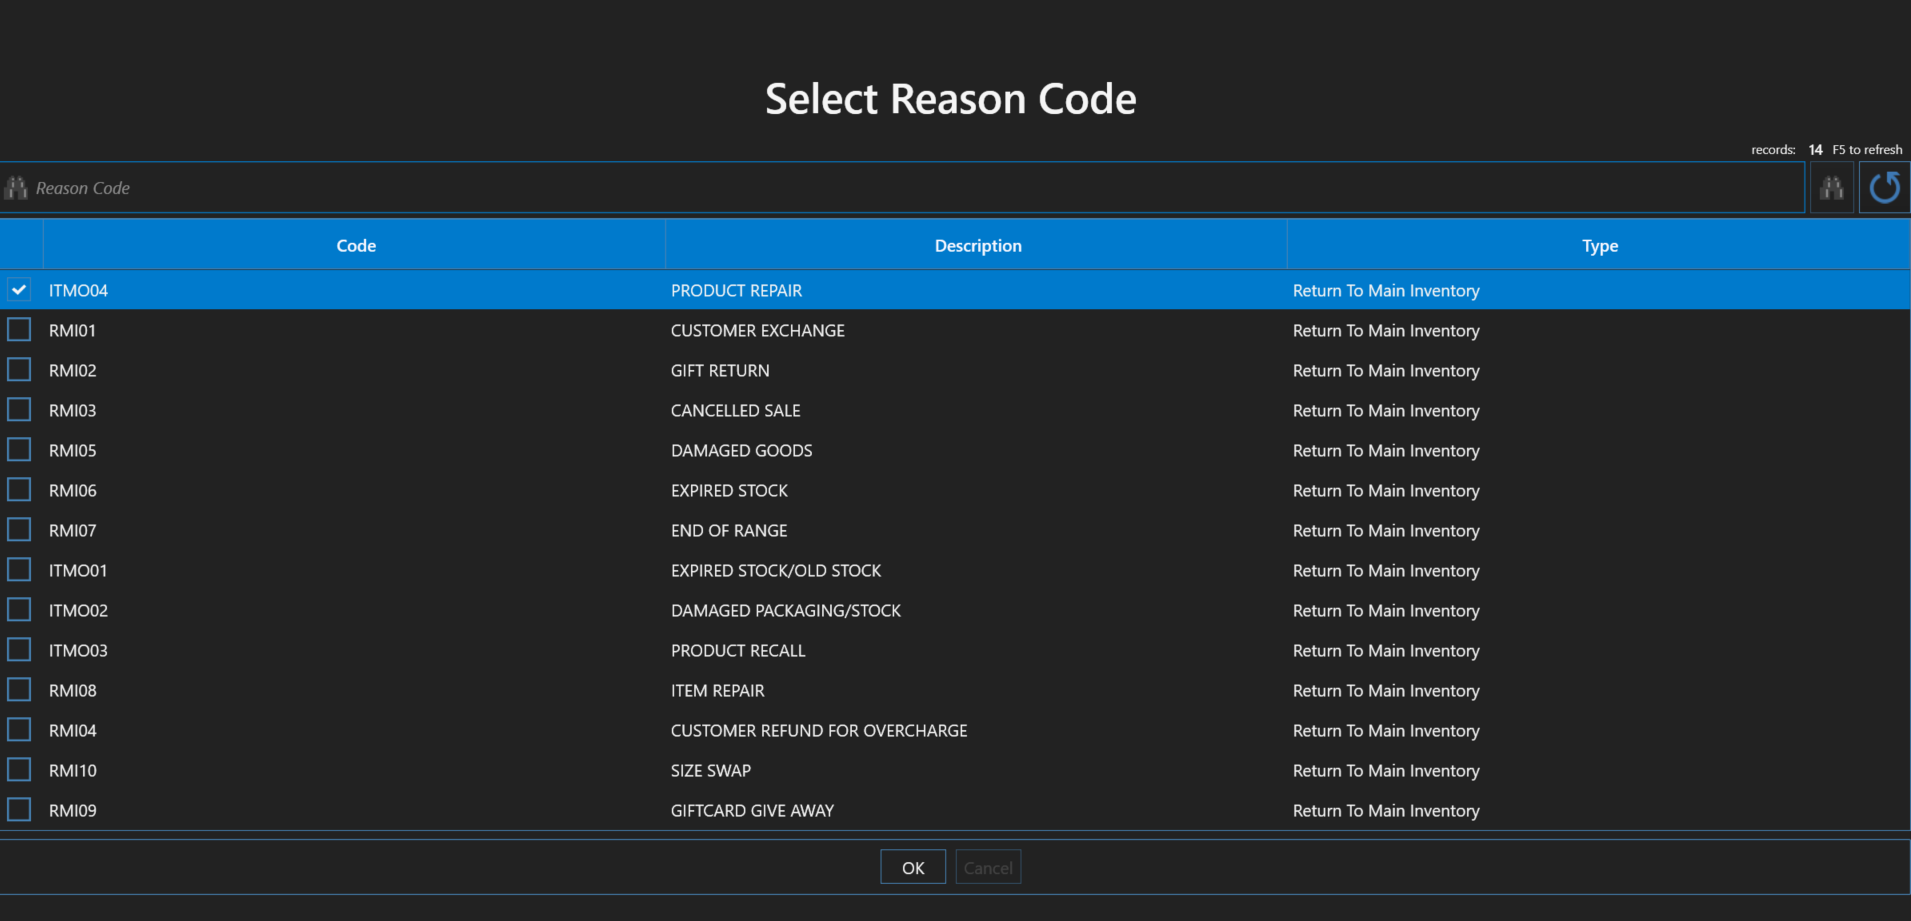
Having select appropriate reason, the transaction will be loaded in the POS. You will notice that the total amount of the transaction is now shown in red and is a negative number. You can now tender this transaction as you would normally tender a settled transaction.
At the end of the transaction, you will receive a confirmation message as well as an email confirming that the transaction was processed.