To enable lists & registries, do the following:
- Log in to the WebStore Manager.
- Go to Products > Lists & Registries.
Enabling lists & registries
To enable customers to create such lists on your WebStore, do the following :
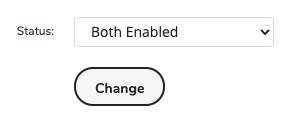
- Next to Status, select the types of lists/registries you wish to enable on your store.
- Click Change.
- To specify the types of events that can be created, enter a list of events (such as Birthdays or Weddings), separating each event type with a comma.
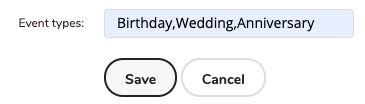
- If you do not specify any event types, customers can specify their own types of events.
- From the drop-down list of shipping methods, select a shipping method.
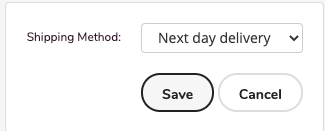
- The List and Registries page now shows that this shipping method is active, so when setting up a registry, registrants will be able to choose it as their default shipping option.


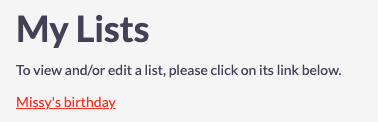
Lists & Registries - My account
To view your lists and registries, do the following:
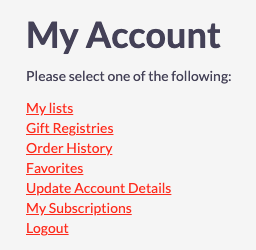
- Click My Account.
- When you select this link, a page is displayed where your customers can manage their lists and account details:

Note: Registries and lists will not be visible if they are no enabled.
From My Account, you can do the following:
- View the lists and registries currently available.
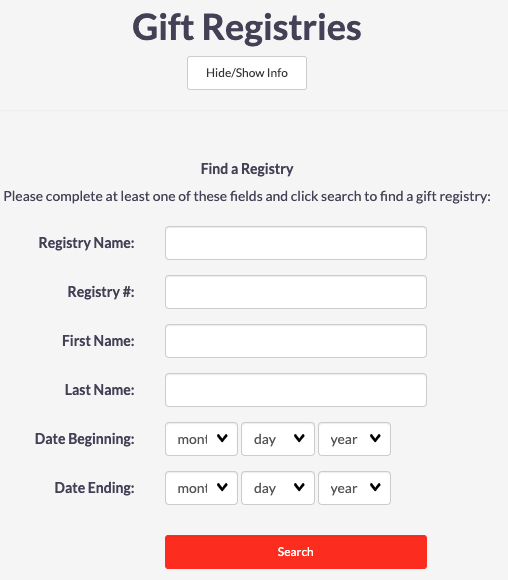
- Find available registries.
- Create new lists and registries for your WebStore.


Adding an item to a list or registry
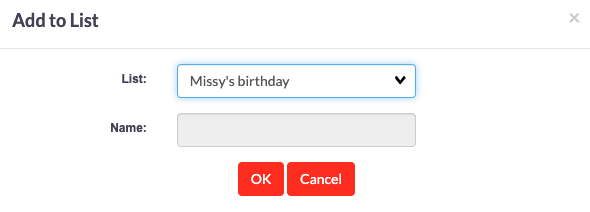
- To add an item to a list, when viewing the item's product page, select Add to List or Add to Registry, as appropriate.

- In the drop-down list, either select an existing list (or registry) or select New List (or New Registry) and enter the name of a new list or registry.
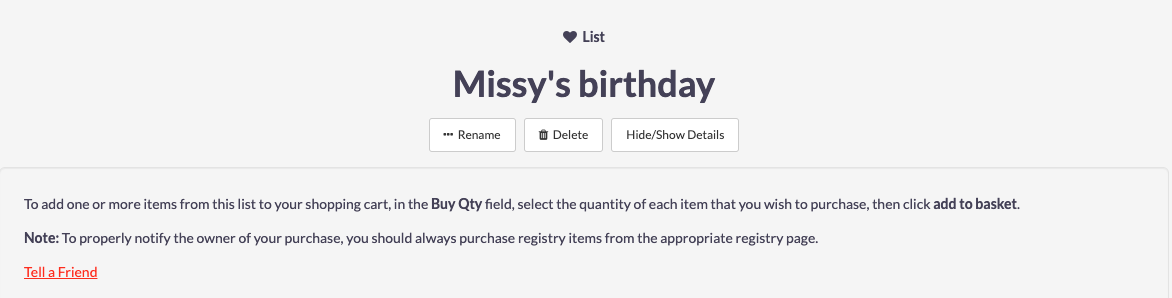
When you view the list, the selected items are now included. In the Requested column, select the desired quantity of each item, then click Update List.


Note: Items included in the registry are sorted according to their department and category.
- To assist registrants in writing thank-you notes to those who have purchased items from the registry, a report of the registry activity sorted by the purchaser is available.
- To view this report, select View Thank You List Report.
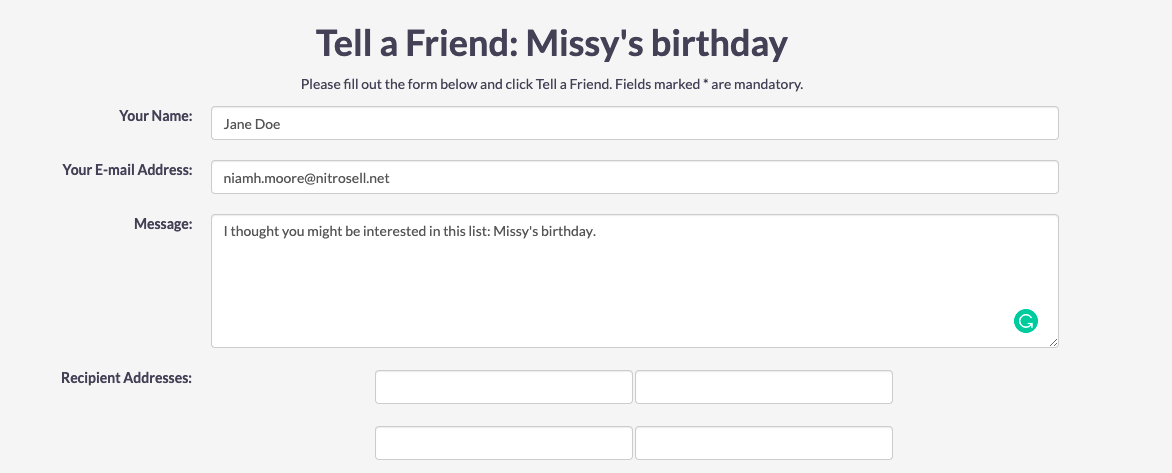
Tell a friend
To send a list or registry to someone, do the following:
- Select a list or registry.
- Click Show Details.
- Click Tell a friend.
- Enter the necessary information.
- If you select the Include list items checkbox, the e-mail will contain a list of the list items.
- Otherwise, the e-mail will contain only a link to the list page.

